Thursday, 5 December 2013

Say Cheese!

What with Christmas and our little boy home from hospital, I know I will be using my camera a lot.
quintonwench.com
I haven't looked back since buying my DSLR. I am always happy with my images and it does so much of the hard work for me.

Most DSLRs come with a standard lens, but like me, many people choose to buy extra lenses - all for different desired shots - hoping to get the best results possible.
quintonwench.com
Retailers like Clifton Cameras sell a huge range of lenses, including Nikon lenses (like mine). Knowing which one you need can be difficult, so here's a quick guide...

WIDE ANGLE

These lenses capture more of the horizon in the frame, so they're great for those breathtaking landscape shots! The mm represents the focal length, with 21-35mm defined as wide angle and below 20mm classed as super-wide angle.

A fisheye lens is an ultra-wide angle lens that will give a fish bowl effect to your photos. They are great for capturing the sky beautifully! Check out this shot from Scott L Robertson Photography

MACRO

These lenses are made for photography on the small scale. They magnify the tiniest details and are great for capturing every detail. Often you'll also require a tripod - a steady shot will reduce the risk of blurred close-ups. Nikon have put together a great gallery of macro images - see it here

TELEPHOTO

These are great lenses for drawing focus to your subject and they have a shallow depth of field. Those between 50 - 100mm are usually used for portrait shots, while those exceeding 100mm are great for zooming in on wildlife.

PRIME/ZOOM

Prime lenses have a fixed focal length, unlike zoom lenses which can alter theirs. Prime lenses are often lighter and smaller than zooms and make focusing and taking brighter photos easier. This is thanks to their large apertures. Zooms however offer more versatility and are an ideal purchase for the beginner.
If you have a thirst for more knowledge, then I would definitely recommend a photography course. I went on a course back in March and you can read all about it here


Friday, 22 November 2013

Living life to the Max

Back to the blog and introducing our baby boy Max...
quintonwench.com
He was born just over ten (yes that's right, ten!) weeks premature and after seven weeks in hospital, he is finally home.

He stopped growing in the womb and was better off out.

He was born just 1lb 12oz.
His stay in hospital felt like 7 months rather than 7 weeks!

Life in the Neonatal Unit was tough. Clinical. Scary. Alarms and leads everywhere. Every day the same - daunting.

Max was lucky; his stay in hospital was a steady one. He was in a incubator for 6 weeks. Then he was moved to a cot and within days he was ready for home.

He was discharged at 4lb 3oz, just 3 weeks before his due date. He is on various medication, but nothing we can't deal with at home.

Let the fun begin!

Thursday, 26 September 2013

Mitt's Autumn!

Crocheted Cluster Mitts ...
quintonwench.com
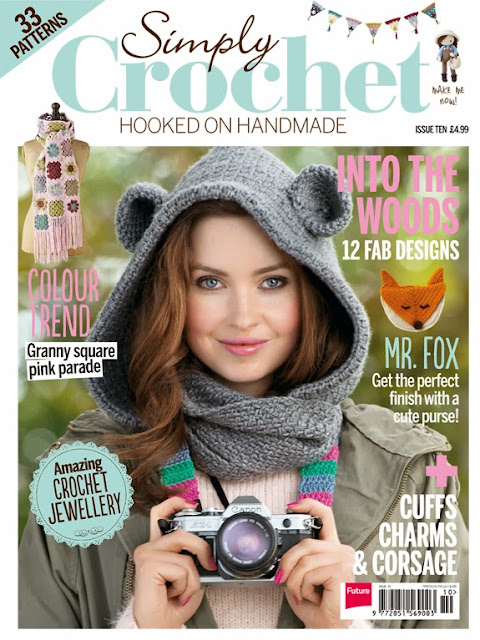
My latest make comes from this month's issue of Simply Crochet, which is full of ideas for Autumn. 

simply crochet magazine
The pattern was really simple and the mitts made up quickly and with ease.
quintonwench.com
I used chunky merino wool and the suggested 4mm hook.
quintonwench.com
To finish off, I edged the top of the mitts with some leftover wool from my PomPom Hat project.
quintonwench.com
An ideal make for this year's Christmas gifts. (Oops did I mention the 'C' word??!)

UPDATE: why not follow the designer's blog here and find out where to purchase the pattern...

**** Linking up at these sites

Saturday, 17 August 2013

Buggy Buddy

A simple pram/buggy blanket using Patons Fab DK wool and a 6mm hook.
It's my own pattern (I decided to just go for it and see how it worked out).
Ch to the length required and then sc into 2nd chain from hook
Row 1: **dc into next chain, then sc into the next chain; repeat from ** until the end of the row, ch 1 and turn
Row 2: sc into next stitch then follow Row 1
Repeat Row 2 for subsequent rows until desired blanket size.
Finally sc evenly around the blanket, twice.

(This youtube video is great at explaining where to place your stitches, especially on the sides of the blanket - ideal for the less experienced like myself)
My blanket measures 25 x 30 inches
I love how this wool has 4 colours in it; grey, blue, white and lilac - ideal for a boy or girl.

**** Linking up at these sites

Tuesday, 13 August 2013

Winter Warmer

This is my first attempt at a crocheted cardigan for our baby. He/She will be born at the beginning of the winter, so they'll need plenty of warm layers.
I have never crocheted clothing before, so this was a bit of a challenge.
The pattern was purchased from Kay's Creative Crochet - I bought it through Ravelry, so I was able to download it straight away.
There's instructions for various sizes and although I struggled with the pattern at first (I am not the best at reading patterns) a little guidance from my Mom got me through.
Hopefully I've made it well and it won't unravel!

**** Linking up at these sites